Below are a few of the shots that I produced for the project. The rest of the scenes that were also used were produced by other members of the group.
Low Angle Shot
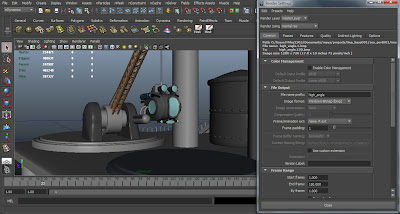
This here is a low angle shot of the pod being lowered into the water by a crane. With both the sea platform and the submersible pod imported together, I started on animating the crane and the pod, with a rope in between them. The rope was created using a polygonal cylinder and applied a ncloth asset, making look more like a metal cord.
 |
| Smooth shaded preview of the shot. The rope object is selected as I set the tools to make move more like rope as the pod moves downwards and the crane rotates. |
 |
| A rendered image of the shot with the lighting and texturing complete. |
Above is a Quicktime clip of the final shot showing the pod descending towards the ocean off screen.
High Angle Shot
 |
Once the images were rendered, they were imported into After Effects to convert them into an image sequence and to be composited, changing the brightness, contrast and colour range if neccesary.
 |
| Rendered mental ray image of the shot, with phsyical lighting and ocean shader in the background. |
Quicktime clip of the high angle shot.
Rendering
Once the scenes were done, modelling, texturing and lighting, we finished by rendering them to be used in the trailer. We accomplsihed this by using certain techniques which proved beneficial.
Some of the scenes that were done were rendered using passes, which we learnt about in tutorials. We only used certain passes which would render a certain layer of the scene and put them into images, which would then be composited together later in After Effects.
Most of the scenes that were produced were rendered using a render farm, which was really helpful as it took less time to completely render every frame of a particular scene and more than one at a time, ones that would normally take hours to render. Was accomplished by submitting a job file, selecting the processes and the number of frames to render, once we linked the scene, the sub processes worked on each frame based the original render settings in the scene file.


No comments:
Post a Comment